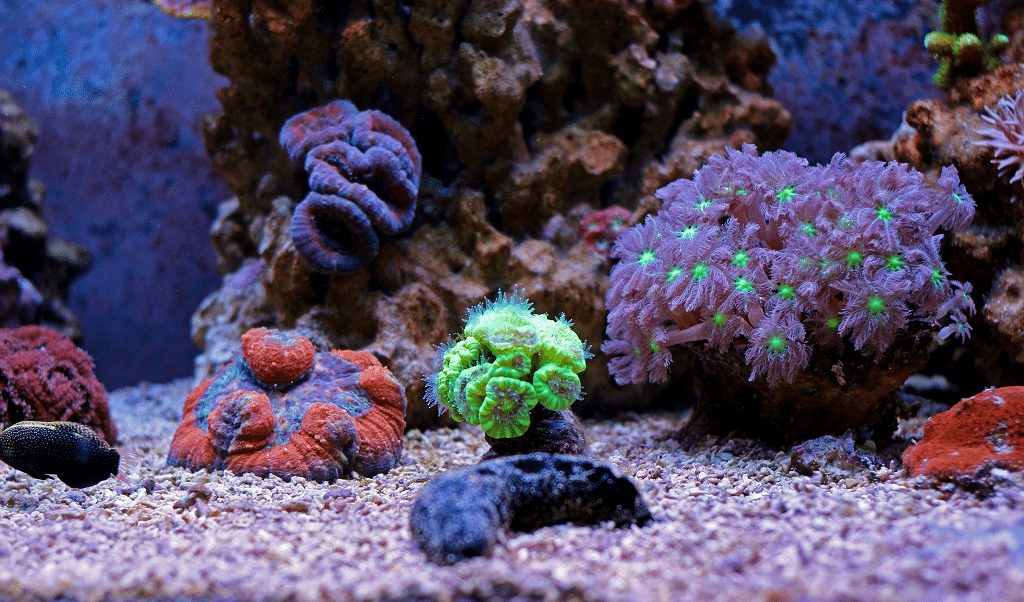
How To Start Your Own Frag Tank
Who doesn’t love to see an aquarium? They are so soothing and restful to watch. Saltwater tanks can be especially eye-catching, and this likely explains the estimated 700,000 salt water tank setups in private homes throughout the United States.
As salt water aquarium technology has advanced, marine life husbandry has been steadily keeping pace. One of the most popular new additions to saltwater tanks is corals. In this post, you can learn the basic approach to starting your own saltwater fragging tank to frag and propagate corals and care for these unique pets at home!
Understanding Corals
Corals are actually animals, not plants. The reason corals are so commonly mistaken for plant life is because these animals are sessile, which means they select a spot on the ocean floor and secure themselves to that spot.
In the ocean, live corals will attach themselves to the ocean floor by securing themselves to a piece of rock or a similar hard surface. In captivity, corals need a similarly stable, hard surface to attach to before they can grow and expand.
What Does “Fragging” Mean?
Corals propagate (reproduce) by budding and growing into tiny polyps while still attached to the parent colony. Fragging, which is short for fragmentation, happens naturally in a wild environment when strong water currents or other disruption separates newly budding polyps from the parent colony.
In a captive situation, fragging can be induced with the intention to grow a whole new pet colony. Specific care, tools and techniques must be used to ensure fragging is done safely and newly separated pet polyps have the best possible chance of propagating in turn.
What Is a Frag Tank?
A frag tank or aquarium is a captive care setup maintained to support successful polyp propagation. While traditionally most frag tanks were located in marine aquariums, today more home hobbyists have begun to enjoy setting up and keeping their own frag tank.
Fragging, transplanting and successfully propagating your own stock can be tremendously satisfying and gratifying as you see the young polyps take root and begin to grow and spread.
But it is critical to ensure your setup will fully meet the needs of your chosen species of corals in a captive-bred situation.
What Items Are Needed to Begin Fragging?
You will need to thoroughly study the requirements and natural marine environment of your chosen coral species. Many beginners enjoy starting off with Zoanthids (“Zoas” for short), since these corals are known to be hardy, eager growers who rarely require feeding. Mushroom corals and Xenias are also great choices for beginners.
Here is a basic list of items you will need specific to fragging:
- Suitable size tank set up for salt water marine life.
- Bone cutter (for hard, stony corals) or scalpel (for soft or leathery corals).
- Coral health dip.
- Glue or epoxy or strong fishing line.
- Hard stable rock or other surface.
Step By Step Process to Frag Successfully
Your first fragging experience may be a nerve-wracking one, but if you proceed slowly and carefully and follow each of these steps in order, you will soon lose any anxiety and begin to build your confidence.
- Be sure your water temperature is around 70 degrees Fahrenheit (21.1 degrees Celsius) and fairly humid.
- Wave your hand over the parent corals to encourage their polyps to retract (this is for the coral’s own safety).
- Remove the parent colony from the water if possible and place it on a soft and stable surface.
- You now need to locate a point of separation where a new budding colony is growing off from the main parent colony (this is why Mushroom corals make a particularly great choice for beginners, since they make locating this point visually quite easy and clear).
- Take your scalpel or bone cutter and detach the new budding colony from the parent colony. Be sure in this to slice away no more than 25 percent of the parent colony and use only one single clean slice. This is critical to prevent shock to the parent colony and safeguard the health of the new colony.
- Dip both the parent colony and the newly detached colony into the health dip to help the severed area heal up quickly and guard against bacteria or alien organisms.
- Some fragging experts prefer to wait a few days before attaching the new colony to a rock or suitable hard surface, while others prefer to do this immediately. It can make sense to wait a bit so the severed area can make use of the health dip and begin to heal.
- Remove the new colony from the water again and, using glue, epoxy or fishing line, secure it to a stable hard rock or other aquatically suitable surface.
- Select a suitable site inside your tank where the new colony will be secure and receive optimal light, water circulation and nutrients to maximize its growth potential.
- You can then watch to see your new colony slowly growing and filling out over time. In time, new buds will once again form, and you can frag them to begin yet another new colony of pet corals.
We hope you have enjoyed this how-to guide for successfully fragging and propagating corals in your own home tank!


